
Here at Radiotronics, we get asked almost daily:
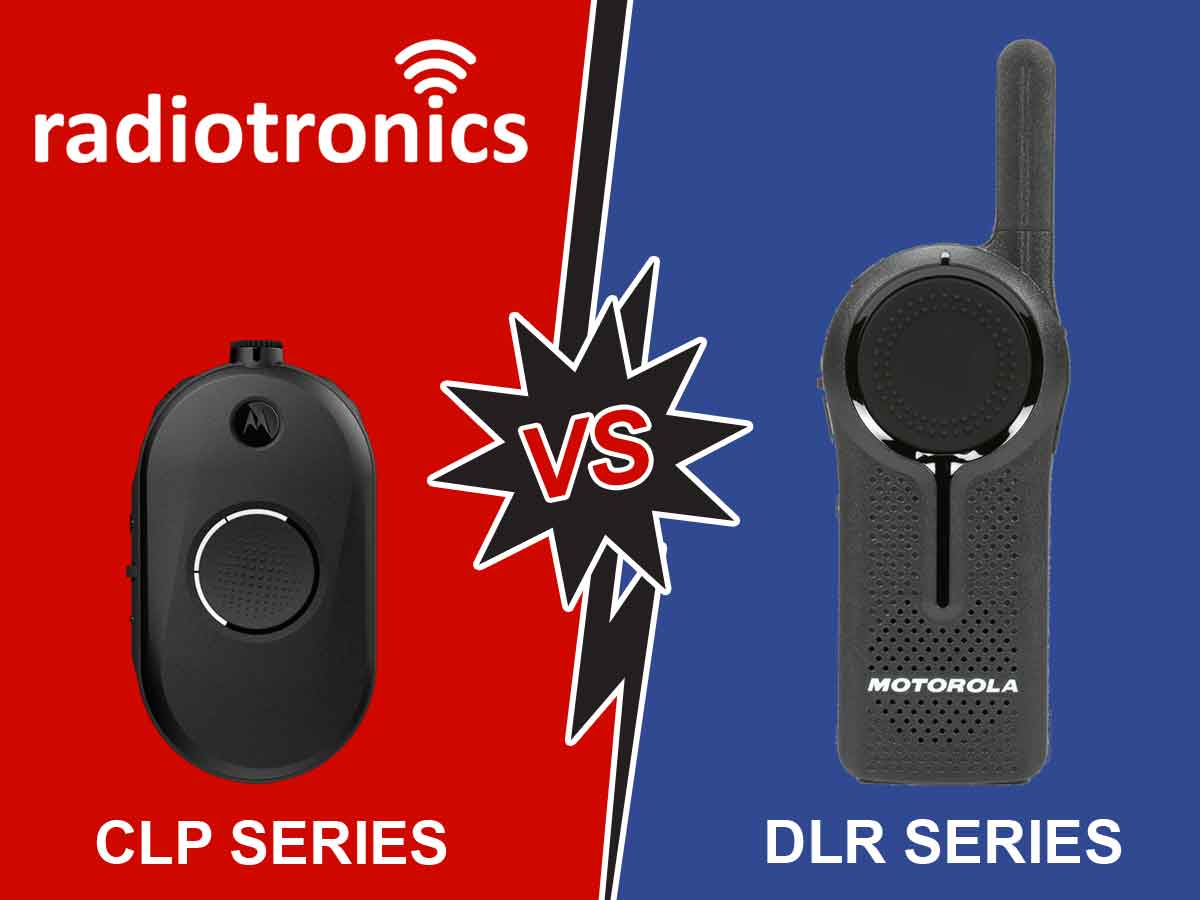
Which is best, the CLP107 (or CLP107e) or the DLR1060?
Answer: There is no short answer. But this article should offer enough information to help prospective buyers to decide.
TLDR: If you don’t already have any existing radios, choose the Motorola DLR1060
Motorola CLP Series Overview
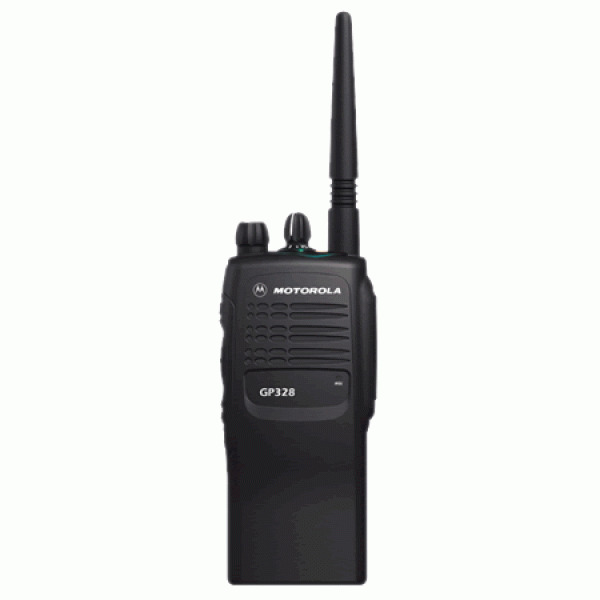
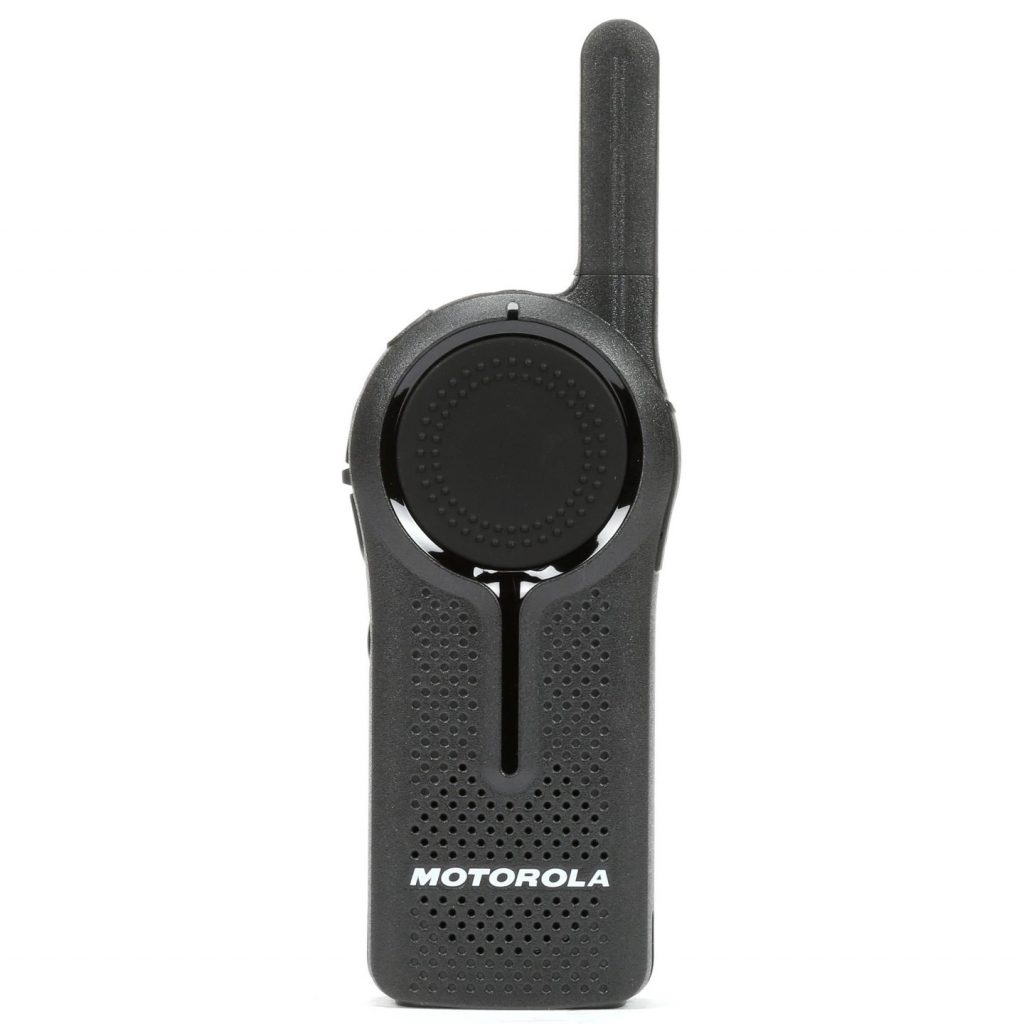
Motorola CLP is a small, compact and lightweight two-way radio made up from 3 models. CLP107 is the most basic model, CLP117 is exactly the same as a CLP107 but with built-in bluetooth (for wireless earpieces) and, as of 2020, there is a new model called CLP107e.
Note on the CLP107e: The CLP107e does not share any accessories with the previous models. The earpieces are different. Even the battery and bnattery door is different. Only the charger is the same.
Important – Licence Required: A common myth is the Motorola CLP series does not need a licence. This is wrong. In Australia, any radio that does not meet the UHF CB type-approval criteria (which the CLP does not) requires an ACMA-issued licence. If you have been told this by a radio dealer, they’ve misunderstood the Motorola CLP series altogether. Stick with Radiotronics.
Pros
- Small & Compact
- 8 Hours Life (5/5/90 Duty Cycle)
- Single & Multi-Way Chargers
- Can be used with a siganl boosting repeater
Cons
- Expensive ACMA-Issued Licence Required
- Requries Earpiece to Operate
- Analogue (Scratchy Audio)
- Very Limited Range
Motorola CLP Accessory Options
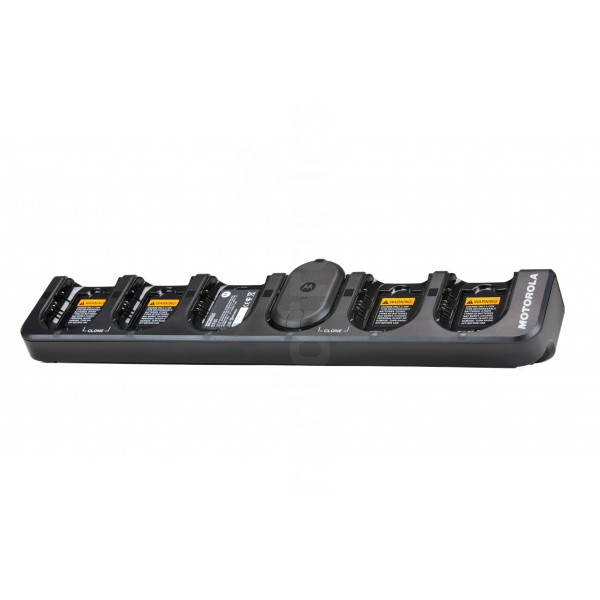
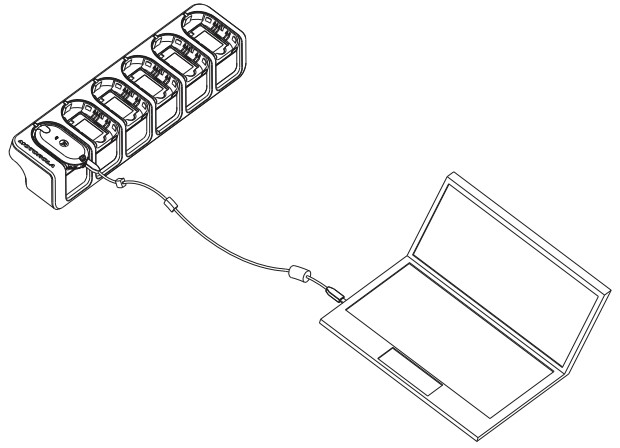
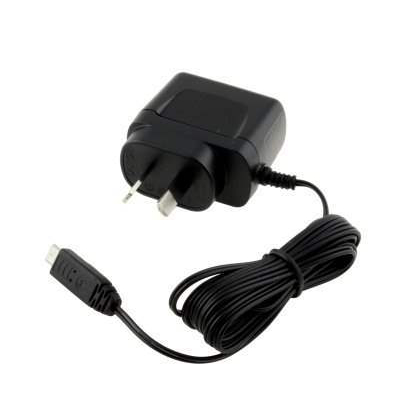
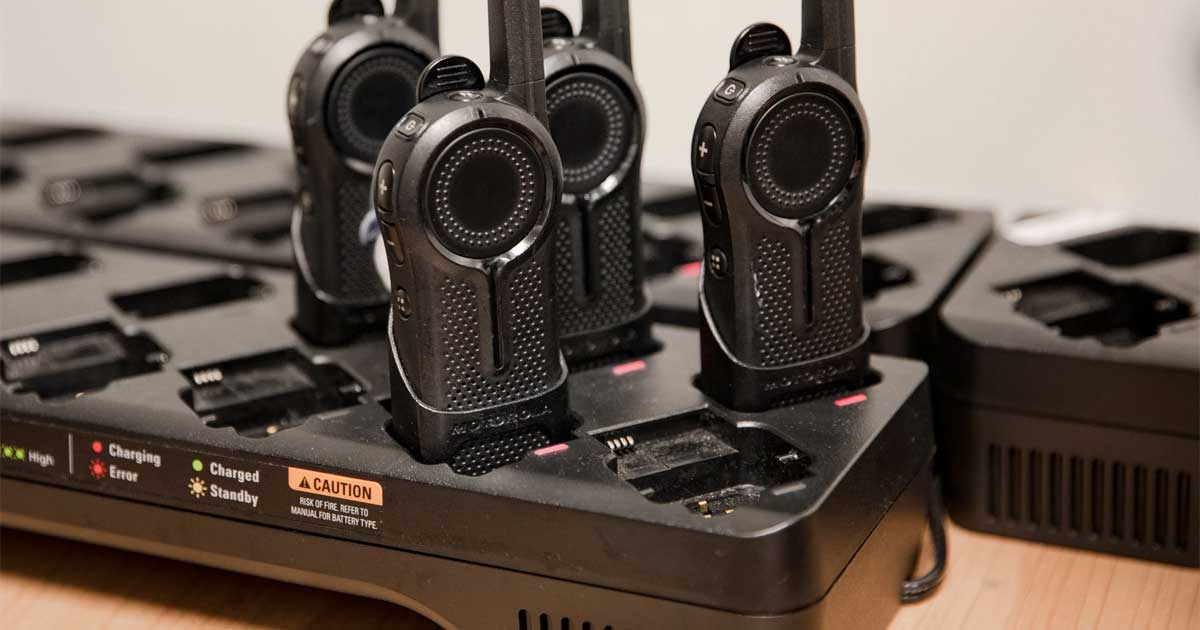
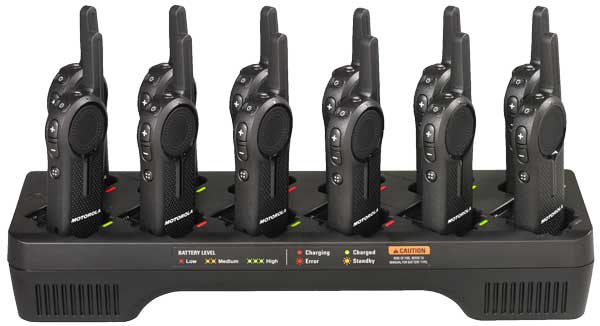
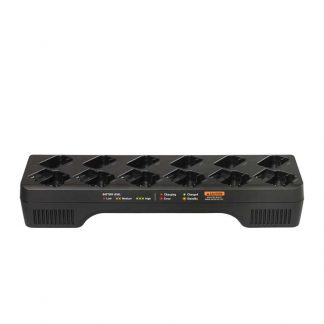
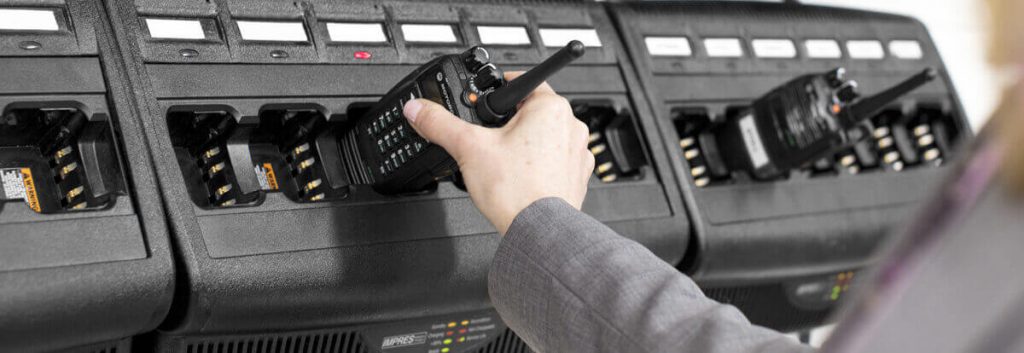
Multi-Charger 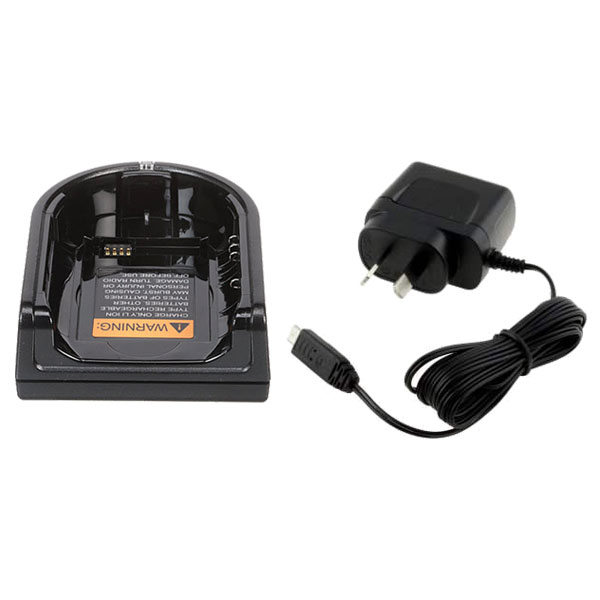
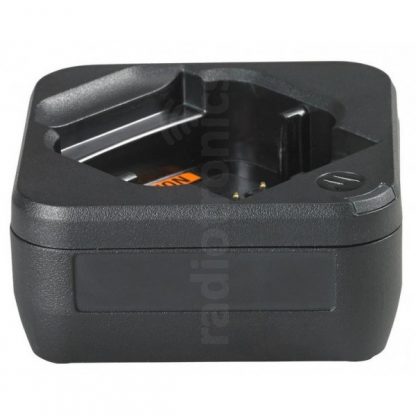
Single Charger 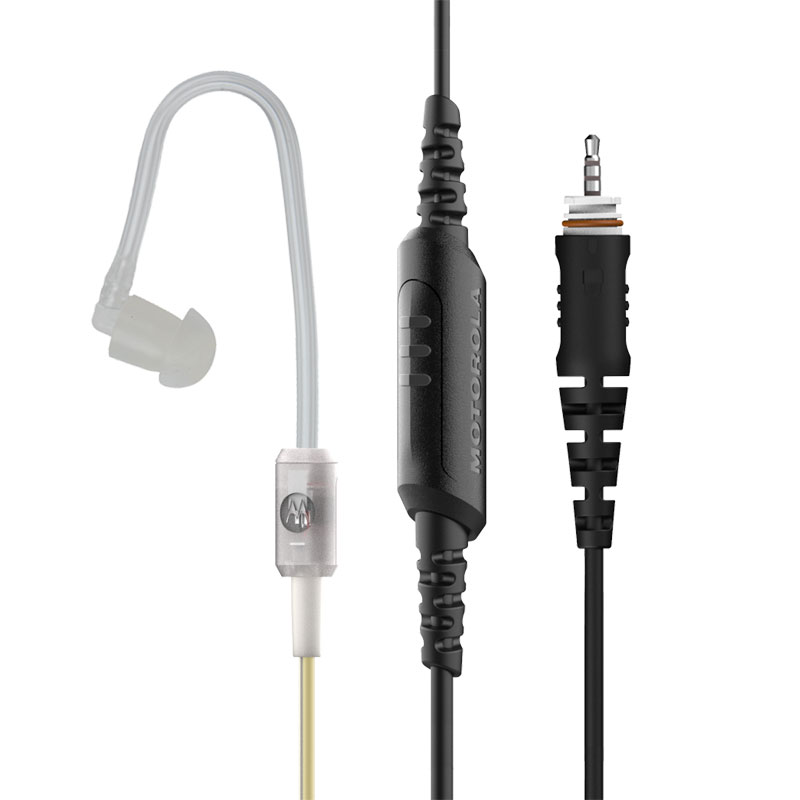
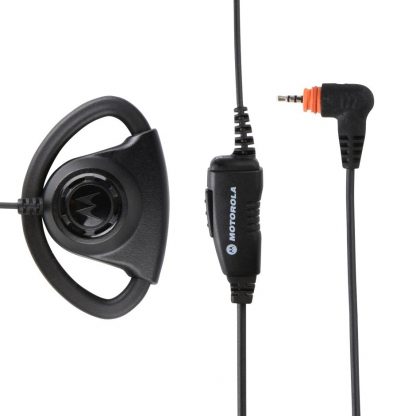
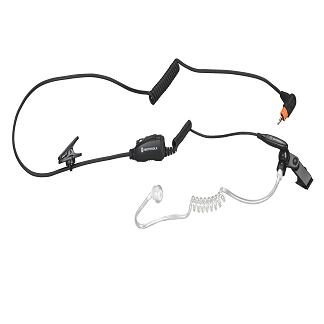
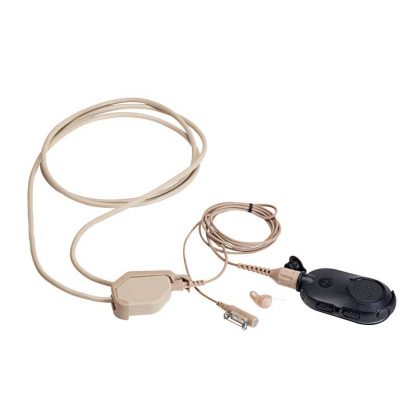
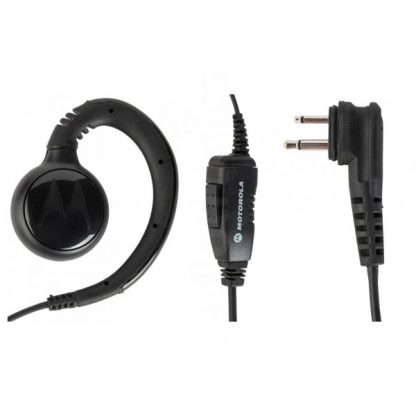
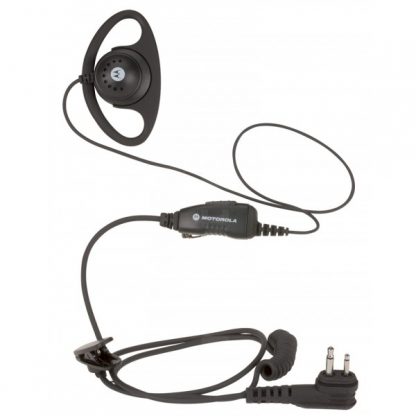
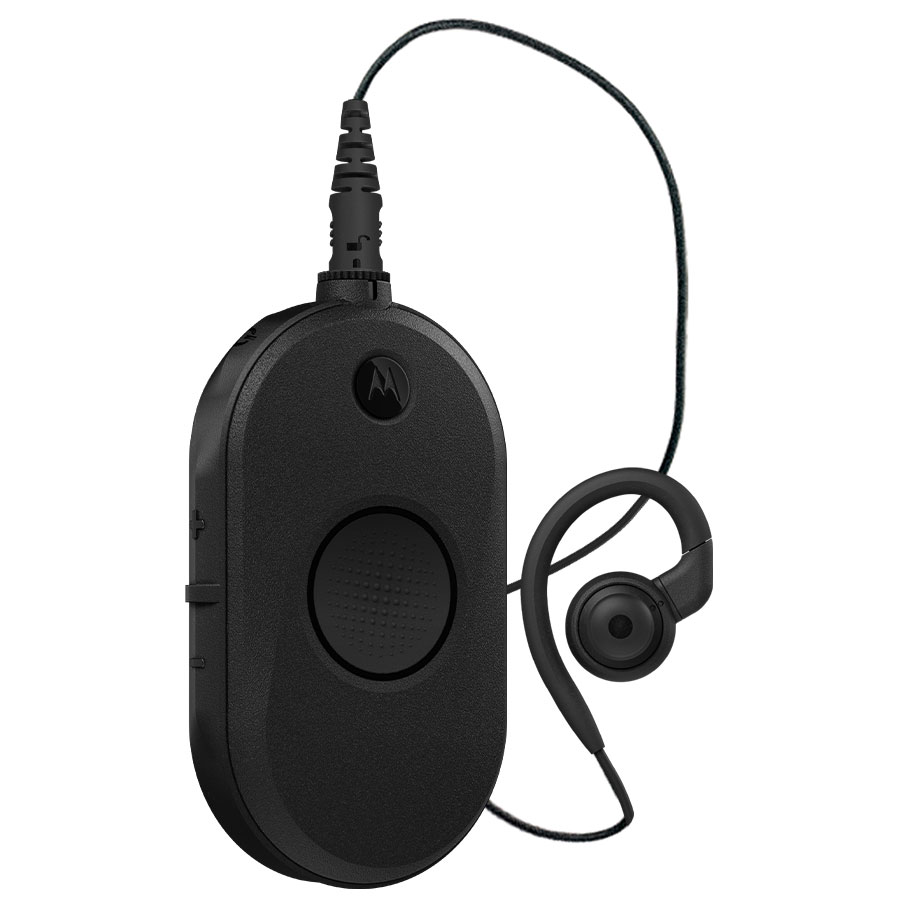
Earpiece 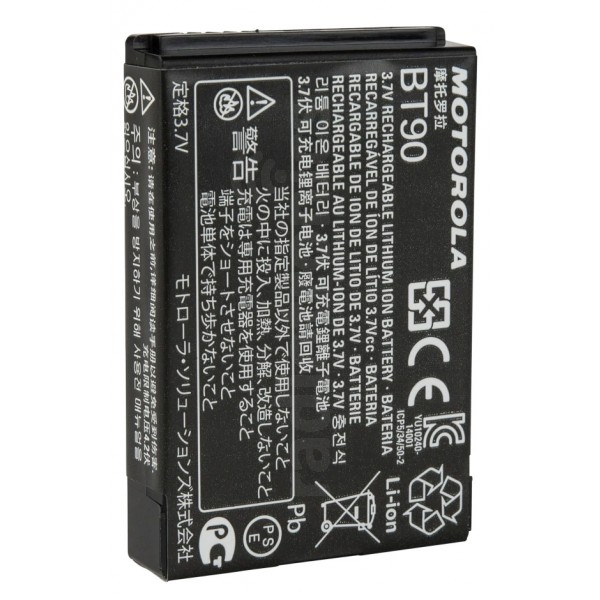
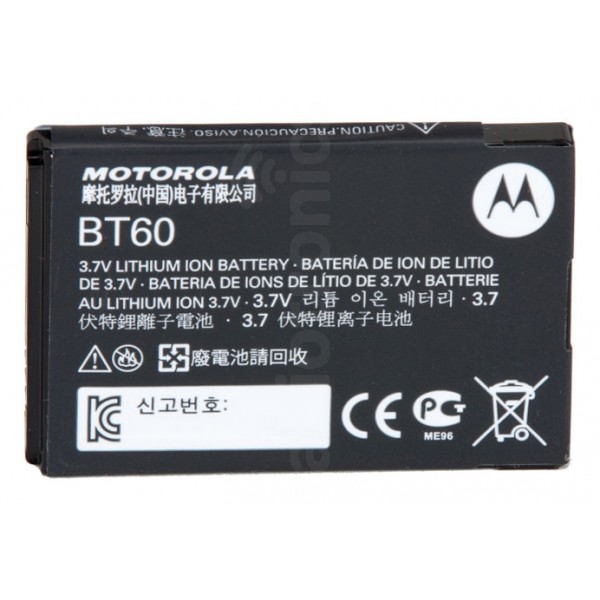
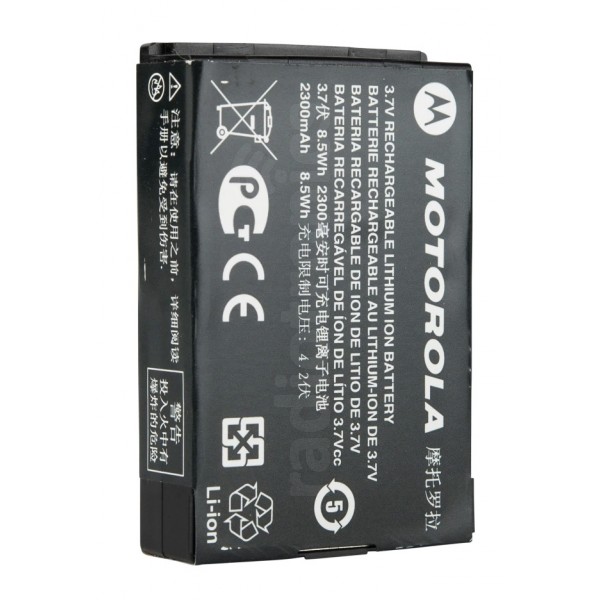
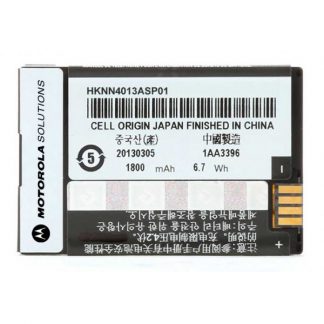
Spare Battery
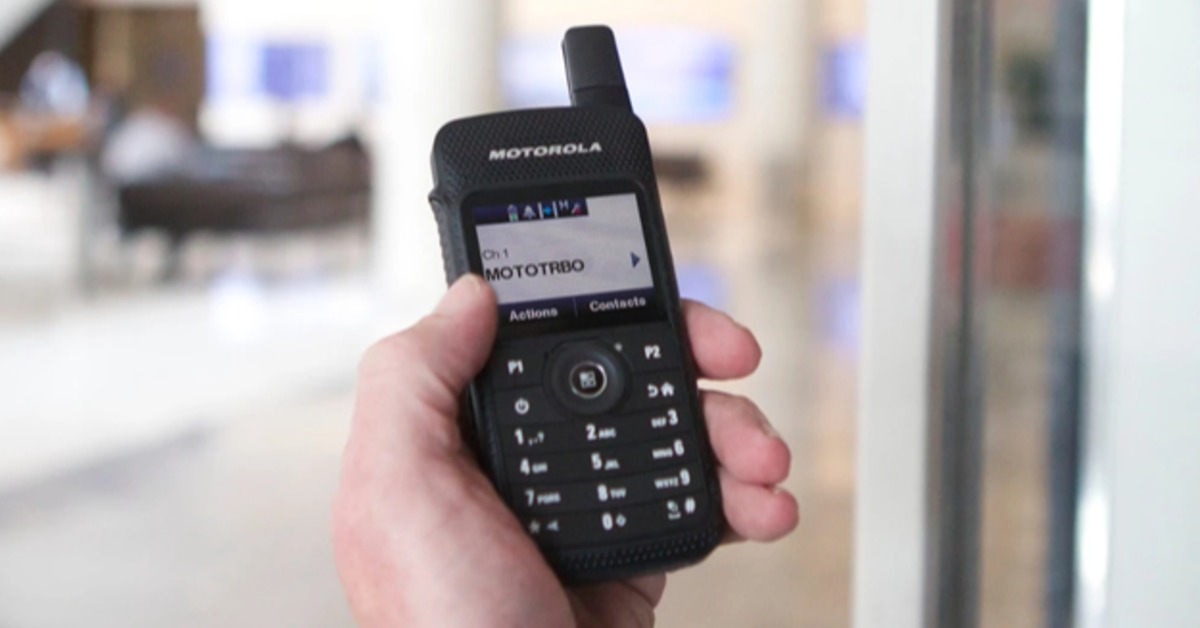
Motorola DLR1060 Overview
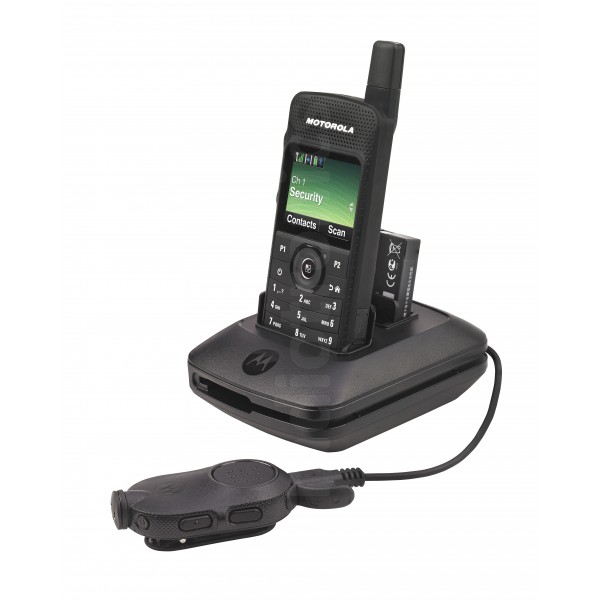
The DLR1060 is a completely licence-exempt digital two way radio that has an 8-hour battery, can be used with or without an earpiece, and has the option of a single charger or a multi-unit charger.
12-Way Multi Charger: The DLR1060 has a 12-position multi-charger that’s virtually the same price (if not cheaper) as some of the 6-way chargers available for other model radios. The advantage of this is that you’ll already have plenty of charge slots for your fleet to grow.
With or Without Earpieces: Unlike the CLP series which must be used with an earpiece, the DLR1060 is much more like a conventional two-way radio that can be used with or without an earpeice, you choose.
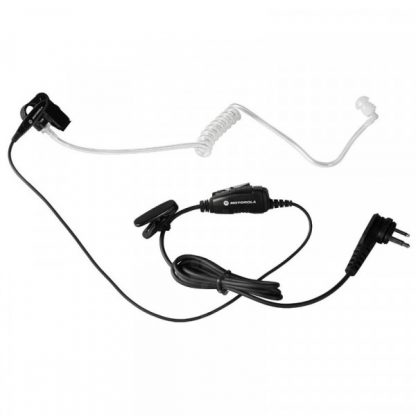
2-Pin Earpiece Socket: Motorola is very well known for the “standard 2-pin earpiece socket”. The CLP, above, has a specific earpiece socket. The DLR has the “industry standard” Motorola 2-pin accessory socket. That means you can choose genuine Motorola branded earpieces or even a selection of cost effective aftermarket earpeices. Whatever you choose, the accessory socket conforms to the 2-pin Motorola standard.
Pros
- Licence Free! NO ACMA Licence Required
- Digital Crystal Clear Audio Quality
- Much Longer Range Than Analogue
- Normal 2-Pin Accessory Connector
- Private Reply Capable (with programming)
Cons
Only works with other DLR series radios, cannot be used with any other make or model radio.
Motorola DLR Accessory Options
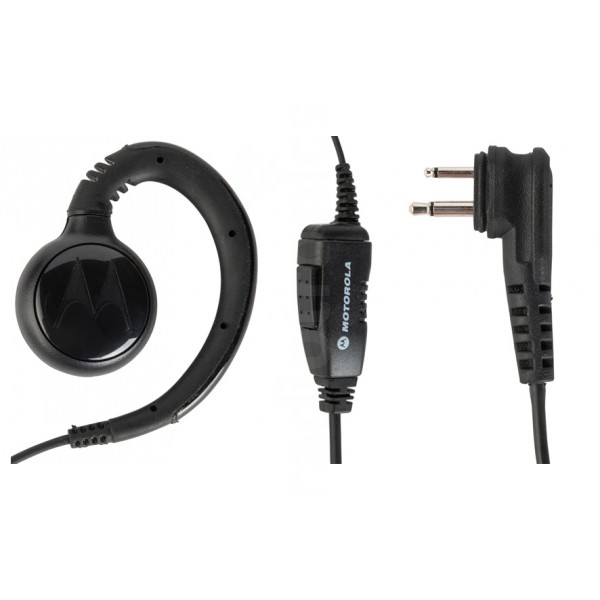
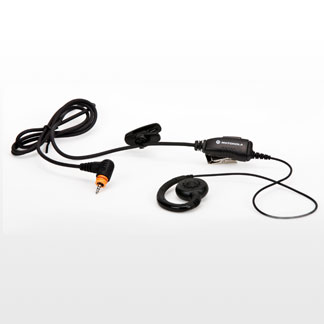
Earpiece 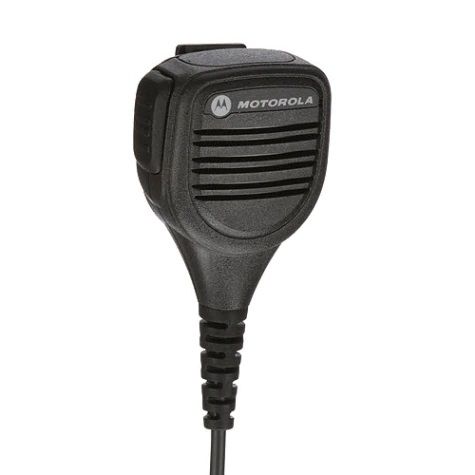
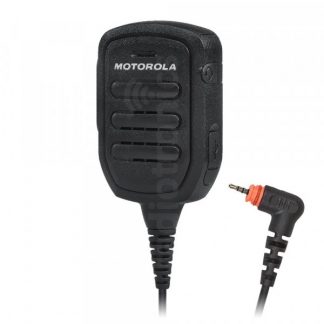
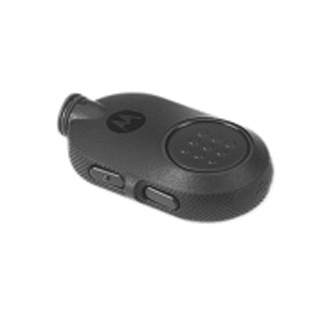
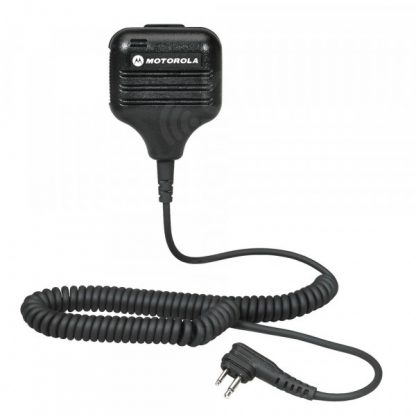
Microphone 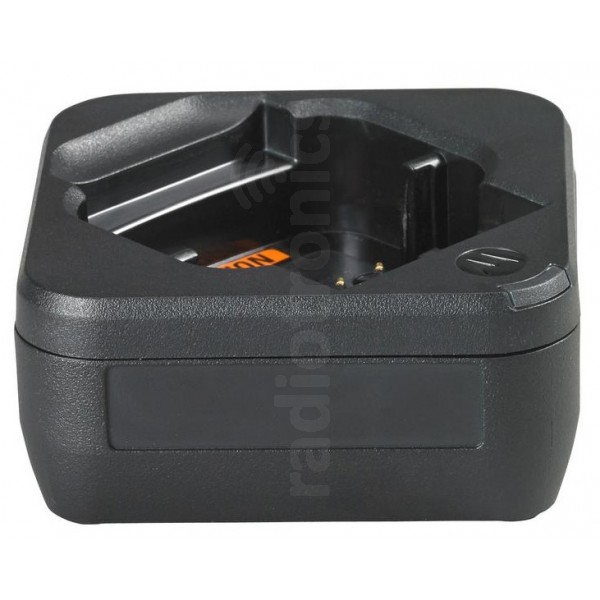
Single Charger 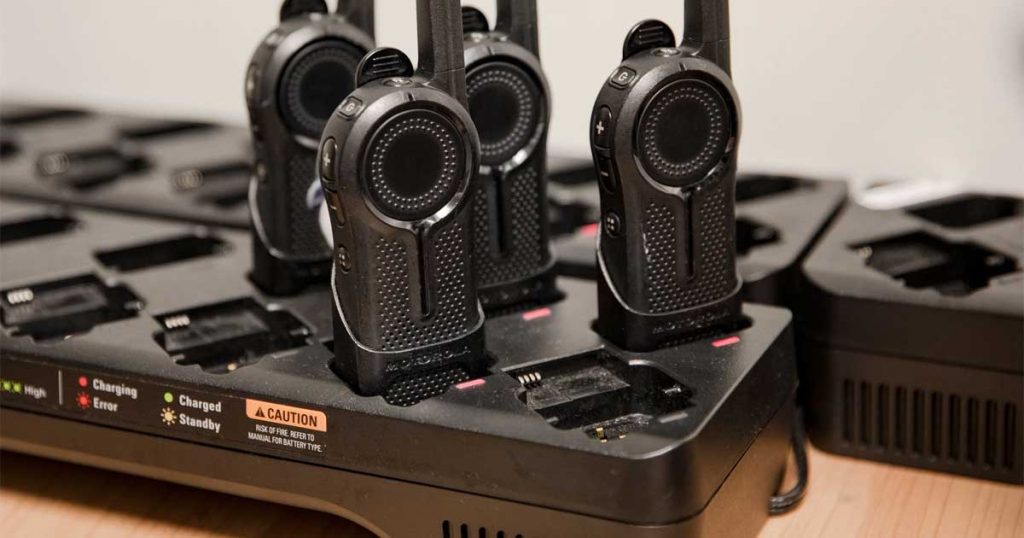
Multi Charger
The bottom line?
The bottom line is that they’re both excellent two-way radios.
CLP107 / CLP107e
The Motorola CLP107e is old analogue technology, limited range and requires an expensive ACMA-issued licence. It also only works with an earpiece connected.
Recommendation: Probably better to only choose the CLP if you already have existing CLP range, you have other licensed UHF two way radios or you need to use the radio via a repeater.
DLR1060
The Motorola DLR1060 is crystal clear digital technology, extended range and does not require a licence. If you don’t have existing radios and
Receommendation: A great choice for a new fleet. Extended range, crystal clear audio and the standard Motorola 2-pin accessory connector.